Encountering the dreaded "cannot verify server identity" pop-up on your iPhone can be incredibly frustrating, especially when it interrupts your daily activities, whether you're trying to access a sports schedule on www.leagueathletics.com or simply check your email. This common yet perplexing error often leaves users wondering what went wrong and how to make it disappear for good. It's a message that signals a communication breakdown between your device and a server, indicating that your iPhone can't confirm the authenticity of the digital certificate presented by the server it's trying to connect with.
While this error might seem alarming, suggesting a potential security risk, it's frequently caused by relatively minor issues such as expired or misconfigured SSL certificates, network glitches, or outdated device settings. Fortunately, for most users, resolving this issue doesn't require advanced technical expertise. In this comprehensive guide, we'll delve into the root causes of the "cannot verify server identity" error and provide a step-by-step walkthrough of practical solutions designed to get your iPhone back to seamless operation, addressing scenarios from general pop-ups to specific cases like those potentially encountered with www.leagueathletics.com or other web services.
Table of Contents
Understanding the "Cannot Verify Server Identity" Error
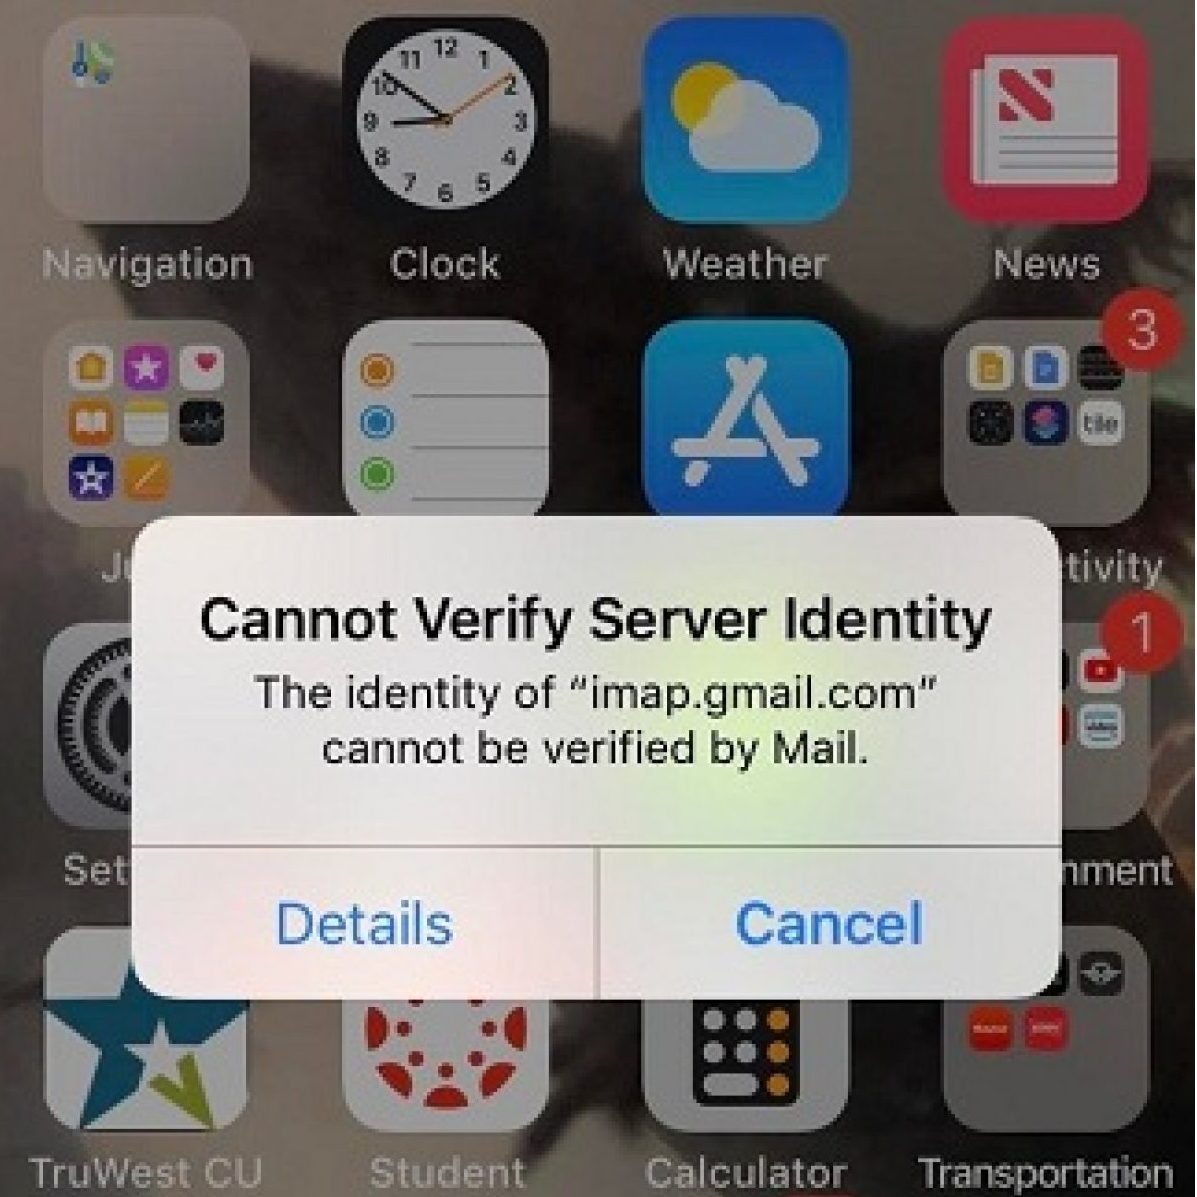
The "cannot verify server identity" message is your iPhone's way of telling you it's unsure about the authenticity of a server it's attempting to communicate with. This typically occurs when your device tries to establish a secure connection, often over HTTPS, but the server's identity cannot be validated using its SSL/TLS certificate. When you encounter this error, for instance, a pop-up might state, "The identity of [link] cannot be verified," often followed by options like "Details" or "Cancel." If you click "Details," it might lead you to system settings, showing information like "a248.e.akamai.net issued by digicert tls rsa sha256 2020 ca1" and, crucially, in red, "not trusted." This red "not trusted" warning is a critical indicator of the underlying problem.
What is an SSL Certificate?
At the heart of secure online communication lies the SSL (Secure Sockets Layer) or its successor, TLS (Transport Layer Security) certificate. An SSL certificate is a digital certificate that authenticates a website's identity and enables an encrypted connection. Think of it as a digital passport for a website or server. When your browser or app connects to a website, the website presents its SSL certificate. Your device then checks this certificate to ensure it's valid, hasn't expired, and was issued by a trusted Certificate Authority (CA).
This certificate contains crucial information, including the domain name it's issued for (e.g., www.leagueathletics.com), the organization that owns it, and the Certificate Authority that issued it. For instance, if you see a certificate issued by "DigiCert TLS RSA SHA256 2020 CA1," it means DigiCert, a well-known CA, has vouched for that server's identity. When this verification process fails, your iPhone flags the "cannot verify server identity" error, preventing a potentially insecure connection.
Why This Error Appears
The "cannot verify server identity" error is usually caused by expired or bugged SSL certificates. A certificate might have genuinely expired, meaning its validity period has passed, and it needs to be renewed by the server owner. Alternatively, it could be "bugged" or misconfigured, meaning there's an issue with its setup on the server side, or your device is having trouble interpreting it correctly. Other common reasons include:
- Incorrect Date and Time: If your iPhone's date and time settings are off, it might incorrectly perceive a valid certificate as expired.
- Network Issues: Unstable Wi-Fi or cellular connections can interfere with the certificate verification process.
- Outdated iOS: An older operating system might not have the latest root certificates from CAs, leading to trust issues.
- Corrupted Mail Account Settings: This is a very frequent cause, especially for pop-ups related to email accounts.
- Man-in-the-Middle Attacks (Rare): While less common for everyday users, this error can theoretically indicate someone is trying to intercept your connection.
- Server-Side Problems: The issue might not be with your iPhone at all, but with the server itself (e.g., www.leagueathletics.com or an email server) having a misconfigured or invalid certificate.
Common Scenarios: Beyond LeagueAthletics
While the focus here might be on a specific instance like www.leagueathletics.com, it's crucial to understand that the "cannot verify server identity" error is a generic warning. It can appear when accessing various online services, not just websites. Many users report seeing it in relation to their Mail app, often with cryptic domain names like "scussingm.biz" or "daysnews.biz." These often point to a problem with an email account configured on your device, even if it's an old or rarely used one. The system continuously tries to connect to all configured accounts, and if one has an issue, it triggers the alert.
The error "the identity of scussingm.biz cannot be verified" or "the identity of daysnews.biz cannot be verified" popping up every few hours suggests a persistent issue with a background process, most likely an email account attempting to sync. It's not always immediately clear what these domains refer to, which adds to the confusion. This highlights the need to check all services that might be trying to connect to external servers.
Mail Accounts and Biz Domains
The appearance of domains like `scussingm.biz` or `daysnews.biz` in the "cannot verify server identity" pop-up is a strong indicator that the problem lies with an email account configured on your iPhone. These domains might be associated with a specific mail server, or perhaps a third-party service that an email account uses for synchronization or advertisements. Even if you don't actively use an email account, if it's still set up on your device, your iPhone will periodically try to connect to its server. If that server's SSL certificate is expired, invalid, or simply unrecognized by your device, the error will pop up. This is a common scenario that many users, including those who might initially suspect a general website like www.leagueathletics.com, eventually trace back to their Mail app settings.
Initial Troubleshooting Steps
Before diving into more complex solutions, it's always wise to start with the simplest fixes. These often resolve a surprising number of transient software glitches and network hiccups that can cause the "cannot verify server identity" error.
Restart Your Device
A simple restart can often clear temporary bugs or network cache issues that might be causing the "cannot verify server identity" error. It refreshes your iPhone's operating system and network connections. The process varies slightly depending on your iPhone model:
- For iPhone X/11/12/13/14/15 or iPad without a Home button:
- Press and hold either the volume button and the side button simultaneously until the power off slider appears.
- Drag the slider to turn off your device.
- After the device turns off completely, press and hold the side button again until you see the Apple logo.
- For iPhone SE (2nd and 3rd generation), 8, 7, or 6:
- Press and hold the side button until the power off slider appears.
- Drag the slider to turn off your device.
- After the device turns off, press and hold the side button again until you see the Apple logo.
- For iPhone SE (1st generation), 5s, 5c, 5, or earlier:
- Press and hold the top button until the power off slider appears.
- Drag the slider to turn off your device.
- After the device turns off, press and hold the top button again until you see the Apple logo.
Once your device has restarted, try to access the service or app that was triggering the "cannot verify server identity" error. Sometimes, this simple step is all it takes to resolve the issue, whether it's related to a specific website like www.leagueathletics.com or a general network problem.
Deep Dive: Network Settings Reset
If a simple restart doesn't resolve the "cannot verify server identity" issue, the next powerful step is to reset your iPhone's network settings. This action specifically targets and clears out all network-related configurations, including Wi-Fi passwords, cellular settings, VPN settings, and APN settings. It's a common solution because many server identity verification issues stem from corrupted or incorrect network configurations that prevent your device from properly handshaking with external servers, which could impact access to sites like www.leagueathletics.com or your mail servers.
What happens when you reset network settings? Your iPhone will forget all saved Wi-Fi networks and their passwords, any custom DNS settings, VPN configurations, and cellular data settings. It will essentially revert your network settings to their factory defaults, giving you a fresh start for all network connections. This process does NOT delete any personal data, apps, photos, or messages on your device. It only affects network-related information.
Steps to reset network settings:
- Open the Settings app on your iPhone.
- Tap on General.
- Scroll down and tap on Transfer or Reset iPhone.
- Tap on Reset.
- From the options that appear, tap Reset Network Settings.
- You will be prompted to enter your iPhone's passcode. Enter it and follow the onscreen instructions to confirm the reset.
Once the reset is complete, your iPhone will restart. You will then need to reconnect to your Wi-Fi networks by re-entering their passwords. After re-establishing your network connection, test if the "cannot verify server identity" errors still pop up. This step often resolves issues caused by corrupted network profiles that prevent proper SSL certificate validation.
Reconfiguring Mail Accounts
As highlighted earlier, one of the most frequent culprits behind the "cannot verify server identity" error, especially when it appears randomly or with obscure domain names like `scussingm.biz` or `daysnews.biz`, is a misconfigured or corrupted email account. Your iPhone continuously tries to sync all configured mail accounts in the background. If one of these accounts has an issue with its server's SSL certificate, it will trigger the pop-up. The solution here is often to remove the problematic account and then add it back, allowing you to set it up from scratch and fix any misconfigured settings.
This process is particularly effective because it forces your iPhone to re-establish trust with the mail server's certificate. Sometimes, an old certificate might be cached, or a setting might have become corrupted over time. By removing and re-adding, you ensure a clean slate for the connection.
Follow these steps to remove and re-add your mail account:
- Go to Settings on your iPhone.
- Scroll down and tap on Mail.
- Tap on Accounts.
- Identify the email account that you suspect is causing the issue. If you have multiple accounts, you might need to try this for each one, starting with any that are less frequently used or have older configurations.
- Tap on the account you wish to remove.
- Scroll down and tap Delete Account (or Remove Account). Confirm your choice when prompted.
- Once the account is deleted, restart your iPhone (refer to the "Restart Your Device" section for steps). This helps clear any residual data.
- After your iPhone restarts, go back to Settings > Mail > Accounts.
- Tap Add Account.
- Select your email provider (e.g., iCloud, Google, Outlook, Yahoo, or Other if it's a custom setup).
- Follow the on-screen instructions to re-enter your email address and password. Your iPhone should automatically detect the server settings for most major providers. For custom accounts, you might need to manually enter incoming and outgoing mail server details.
After re-adding the account, monitor your iPhone to see if the "cannot verify server identity" pop-up reappears. This method has a high success rate for mail-related certificate errors.
Addressing "Not Trusted" Certificates
When you tap "Details" on a "cannot verify server identity" pop-up, and it shows information like "a248.e.akamai.net issued by digicert tls rsa sha256 2020 ca1" with a red "not trusted" warning, it signifies a deeper issue with the certificate itself or your device's trust store. The "not trusted" status means your iPhone doesn't recognize the Certificate Authority (CA) that issued the certificate as legitimate, or the certificate has been revoked, is malformed, or doesn't match the domain it's presented for. In some cases, the issuer might be listed as something less common, like "Global Internet Telemetry Measurement Collective, LLC," which can also raise flags if your device isn't familiar with it.
For most users, there isn't a "continue" option or a simple way to force trust for a certificate that your iPhone deems "not trusted." This is a security feature designed to protect you from potentially malicious connections. If you encounter this with a legitimate service like www.leagueathletics.com, it suggests the issue is likely on their server side (e.g., an expired certificate they haven't renewed) or a very specific network problem on your end that's interfering with the certificate chain validation.
What you can do:
- Ensure iOS is Up to Date: Apple regularly updates its list of trusted root certificates with iOS updates. An outdated iOS version might not recognize newer CAs or revoked older certificates. Go to Settings > General > Software Update to check for and install any available updates.
- Check Date and Time: An incorrect date or time on your iPhone can cause certificates to appear expired or invalid. Go to Settings > General > Date & Time and ensure "Set Automatically" is enabled.
- Verify the Source: If the error pops up for a service you frequently use and trust (like your bank or a known sports website like www.leagueathletics.com), and it's suddenly showing "not trusted," it's worth checking their official support channels or status pages. They might be aware of an issue on their end.
- Avoid Public Wi-Fi (Temporarily): If you're on public Wi-Fi, try switching to cellular data or a different trusted Wi-Fi network. Some public networks employ "captive portals" or other configurations that can interfere with SSL/TLS handshakes, leading to certificate errors.
- Remove Problematic Profiles: Rarely, enterprise or school profiles installed on your device can interfere with certificate trust. Go to Settings > General > VPN & Device Management. If you see any profiles you don't recognize or no longer need, consider removing them.
It's important to reiterate that if a certificate is genuinely "not trusted," your iPhone is doing its job by warning you. While inconvenient, bypassing such warnings can expose you to security risks. If the issue persists for a service you rely on, contacting their support is the most prudent step, as the problem might originate from their server's certificate management.
When All Else Fails: Factory Reset
If "cannot verify server identity" errors still pop up despite trying all the solutions above, and you've exhausted all other avenues, resetting your iPhone to factory settings might be the ultimate last resort. This is a drastic step that erases all data and settings on your device, returning it to the state it was in when you first bought it. It should only be considered after backing up all your important data and if you suspect a deeply embedded software corruption that no other troubleshooting step can fix.
A factory reset can resolve persistent software glitches, including those affecting network communication and certificate validation processes. While it's a powerful solution, it requires significant time and effort to back up, reset, and then restore or reconfigure your device.
Important: Before proceeding, back up your iPhone! You can back up to iCloud or to your computer using Finder (on Mac) or iTunes (on Windows).
Steps to reset your iPhone to factory settings:
- Go to Settings on your iPhone.
- Tap on General.
- Scroll down and tap on Transfer or Reset iPhone.
- Tap on Erase All Content and Settings.
- You will be prompted to enter your passcode. Enter it and follow the onscreen instructions. Your iPhone might ask you to confirm that you want to erase all data and settings.
- If Find My iPhone is enabled, you might be asked to enter your Apple ID password to turn it off before the erase process begins.
- Once confirmed, your iPhone will begin the erase process. This can take several minutes.
After the reset, your iPhone will restart and present you with the "Hello" screen, just like a new device. You can then set it up as new or restore your data from a backup. If you restore from a backup, be aware that if the underlying issue was part of the backup, it might reappear. For a truly clean slate, setting up as a new iPhone is recommended, then manually reinstalling apps and reconfiguring accounts, which can be time-consuming but ensures no corrupted settings are reintroduced. This method is usually reserved for the most stubborn cases of the "cannot verify server identity" error.
Proactive Measures to Prevent Future Errors
While technology isn't perfect and errors sometimes occur, there are proactive steps you can take to minimize the chances of encountering the "cannot verify server identity" error again, whether it's for www.leagueathletics.com, your email, or any other online service:
- Keep iOS Updated: Always ensure your iPhone is running the latest version of iOS. Apple regularly releases updates that include security patches, bug fixes, and updated lists of trusted Certificate Authorities, all of which are crucial for smooth and secure server identity verification.
- Maintain Correct Date & Time: Ensure your iPhone's date and time are set to "Set Automatically" (Settings > General > Date & Time). Incorrect time settings are a surprisingly common cause of certificate validation failures.
- Review Mail Accounts Periodically: If you have old or unused email accounts configured on your iPhone, consider removing them. These can silently cause "cannot verify server identity" pop-ups in the background if their servers have certificate issues.
- Be Wary of Suspicious Links: While not directly causing the error, phishing attempts can sometimes lead to similar warnings if they try to impersonate legitimate sites with invalid certificates. Always check the URL before clicking.
- Use Reliable Networks: Whenever possible, connect to secure and trusted Wi-Fi networks. Public Wi-Fi can sometimes be less reliable or even configured in ways that interfere with secure connections.
- Check App-Specific Settings: For specific apps that trigger the error (like a sports app linked to www.leagueathletics.com), check if there are any in-app settings related to account management or server connections that might need adjustment.
By adopting these practices, you can significantly reduce the likelihood of encountering certificate-related errors and maintain a more secure and seamless experience on your iPhone.
Conclusion
The "cannot verify server identity" error on your iPhone, while a real headache, is a common issue with a range of effective solutions. From a simple device restart to a more involved network settings reset, or meticulously reconfiguring your mail accounts, there are multiple avenues to explore before resorting to a full factory reset. Understanding that this error often stems from expired or bugged SSL certificates, or even just a network hiccup, empowers you to troubleshoot effectively.
Whether the pop-up specifically mentions `www.leagueathletics.com`, a cryptic `scussingm.biz`, or a generic server, the underlying principles of certificate validation remain the same. By following the detailed steps outlined in this article, you can systematically address the problem, restore your iPhone's ability to securely communicate with servers, and regain your peace of mind. Don't let this frustrating message deter you; with a bit of patience, your iPhone can be back to verifying server identities without a hitch. If you found this guide helpful, consider sharing it with others who might be facing similar issues, or leave a comment below with your own experiences or tips!